Mac Quick Start
Note
These quick start pages each show one specific way to create a karaoke from start to finish. If you need more context or other software options, use the links on the nav bar (or hamburger menu if you have a small screen).
Install Required Software
Download MidiCo - Choose the version applicable to your Mac type and version.
This is the software we’ll use to sync lyrics. It is a paid product, but the evaluation version will be enough for you to test if it will work for you.
Separate Audio
If you already have a backing track, feel free to skip this part (but don’t take the audio from commercial karaoke, see Why we use original audio).
Find the highest quality version of the track you can. If you can get flac from Bandcamp or similar, that’s your best bet.
Run a vocal removal model:
Go to the x-minus vocal remover page.
Select the “mel-roformer” AI model, or “mel-roformer (kar)” if you want backing vocals. If these models are no longer available in the free version, you can use their “Vocal remover” or “Keep backing vocals” shortcut links to get to the best they’ll offer.
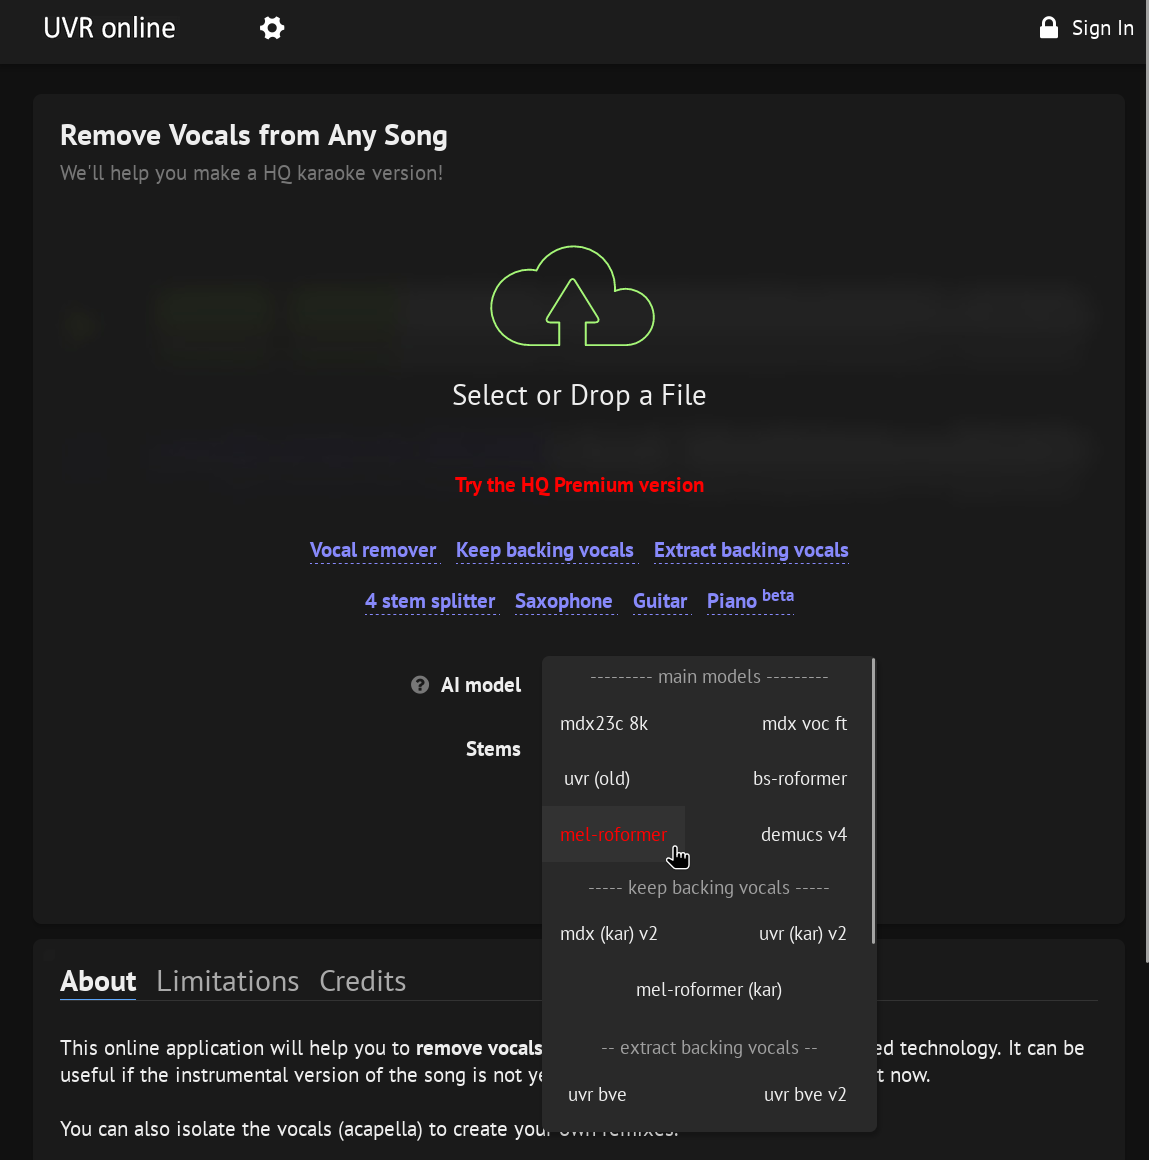
Drag and drop your high quality audio file.
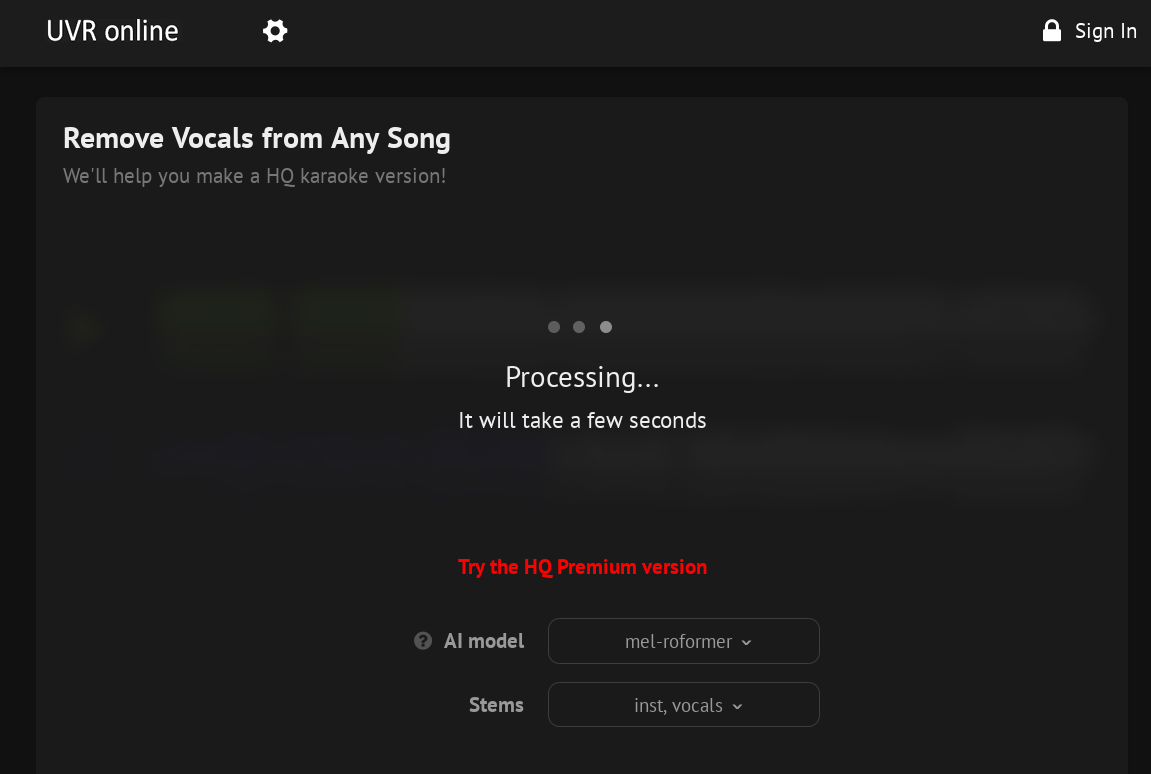
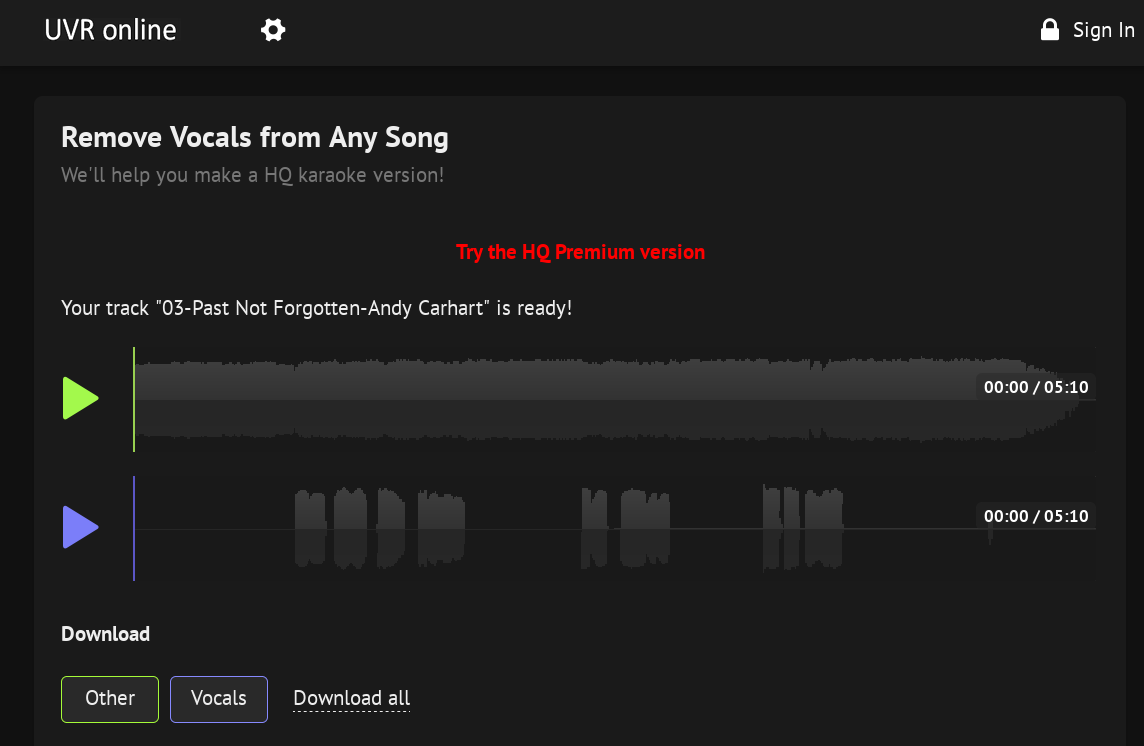
Set the format as desired (if option is available) and download the Instrumental/Other and Vocals stems it generated.
Format Lyrics
Now we need lyrics in a good format for karaoke.
Find accurate lyrics
If there’s official lyrics on the band’s Bandcamp or YouTube video description, great, use those. If there’s a devoted fan community site (e.g. Weird Al Wiki or TMBW), also a great resource. Failing that, Genius usually does ok.
Listen to the song while reading through the lyrics and make sure things match up. Sometimes a line needs to be doubled, or an ad-lib needs to be added. The more accurate it is, the easier it will be to sync, and the less editing will be needed after.
Sync Lyrics
OK, it’s finally time to start the graphics.
Open MidiCo
Go to if the Synchronizer window is not open. If it says you need to open a file first, go ahead and open an audio file with .
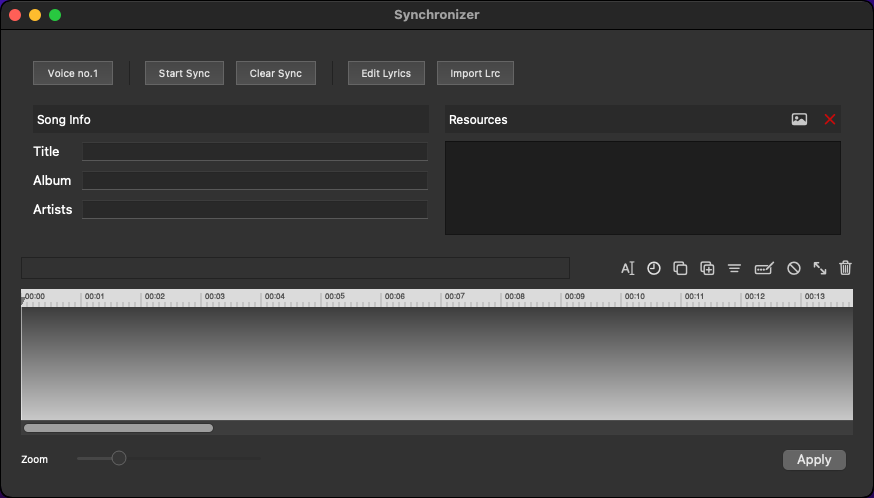
Hit the button.
Paste your lyrics into the left pane.
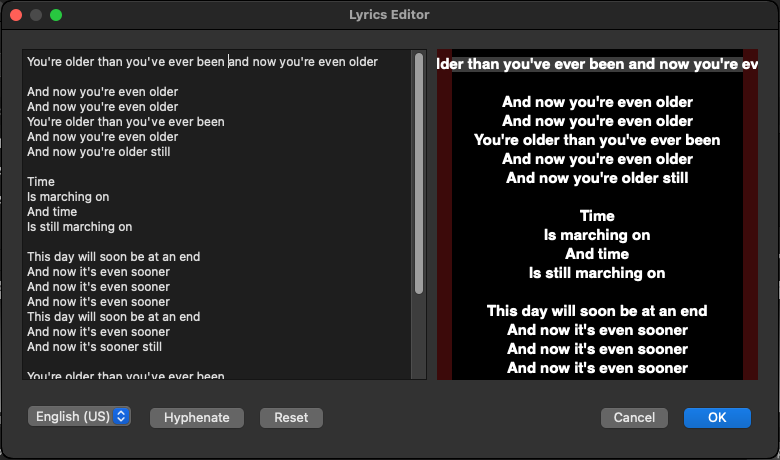
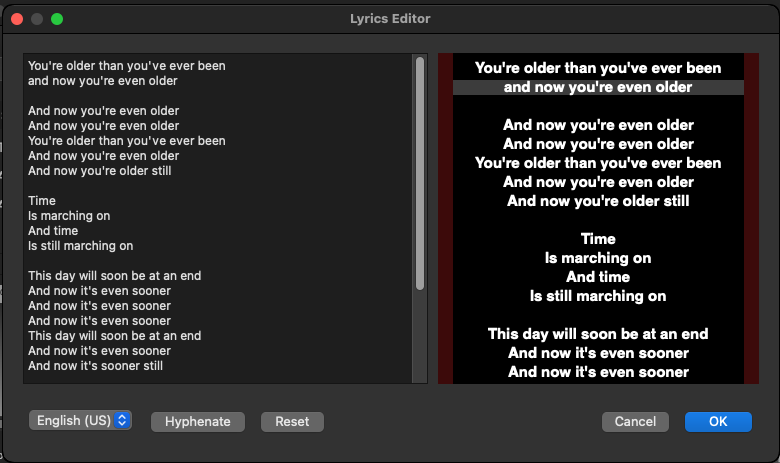
Ensure none of the lyrics go over the red bars on either side. If any do, add line breaks as needed.
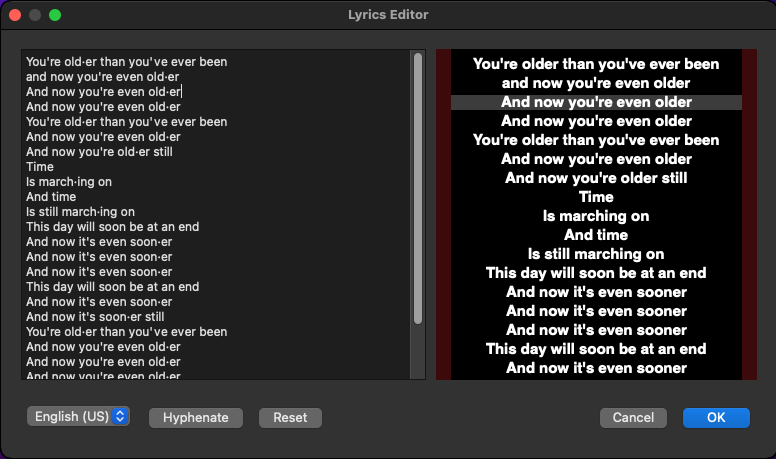
Add a hyphen (“-”) between syllables to have them operate as separate units during syncing (optional, but recommended). There is a Hyphenate button that will try to add them automatically, though it won’t always be entirely accurate. Make sure your language is set correctly for the track to use this feature.
If you haven’t opened the correct audio file yet, go to and locate your audio file (either the full audio or vocal stem, not the instrumental). Avoid using a .flac file for this particular step because it may cause issues with syncing.
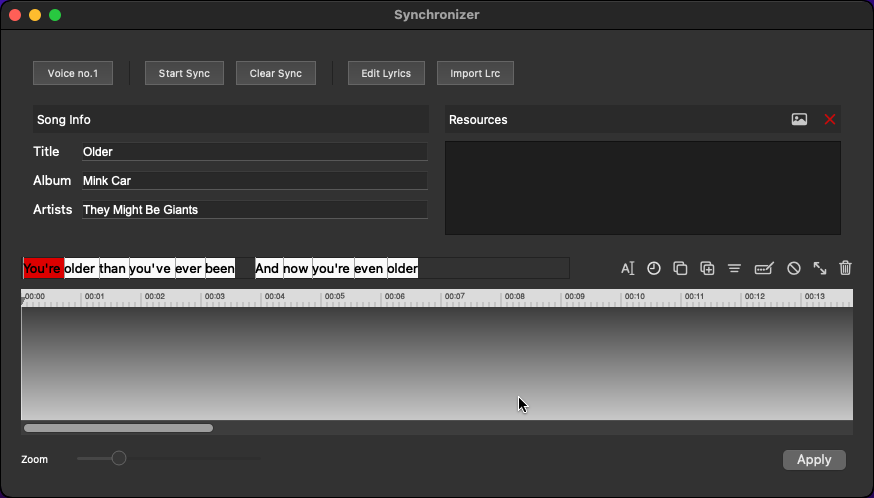
Hit the button.
The audio will start playing. The next syllable/word will be highlighted in red. Hit space on your keyboard when the audio for it plays. If you have the evaluation version, you will only be able to play 2 minutes of the audio.
There are of course some more features available for syncing, as well as editing and layout options, but that’s the basics.
Output
Click again, and locate your instrumental/karaoke audio.
Go to to create a CDG.
Go to to create a video file. With the evaluation copy, your resolution will be limited.
Upload to YouTube
Create a channel. You can use an existing Google account, but it’s better if you create a new one.
Go to the Upload page.
Drop in your video file.
Edit the title and description and wait for it to upload and process.
Follow-up steps
Learn more about MidiCo Karaoke with some background and video tutorials.
View a comparison of karaoke software to see if any would work better for you.
Read about Vocal Isolation and Ultimate Vocal Remover (UVR) to help decide if you want to stick with x-minus or run your vocal isolation a different way.
Buy MidiCo and the Advanced Video Karaoke Maker plug-in (the plug-in is almost mandatory to do anything useful with MidiCo).
Purchase a subscription for x-minus (click the link to try Premium)
Download Audacity to edit your audio files if the stems directly from x-minus aren’t quite good enough.
Set up a Google Drive for KJs to use for offline shows.
Apply for a channel on the Discord (once you get to 10 videos).